This Tuesday, and a couple of Tuesdays ago, our technology class investigated stop-motion video. Stop-motion videos are made by taking a series of photos, with the props/characters moving a tiny bit every slide.
Behind the scenes, September 24
Creating a Stop Motion Video
Although I have had some experience with stop-motion videos, I felt excited to try it again. Creating a storyline, along with characters, props, and working with my group, made this experience so much fun, and I would definitely recommend that people try experimenting with stop-motion. Here is what we did:

- Download the Stop motion studio app.
- We carefully considered our options for props and characters, which helped us decide what our storyline should be.
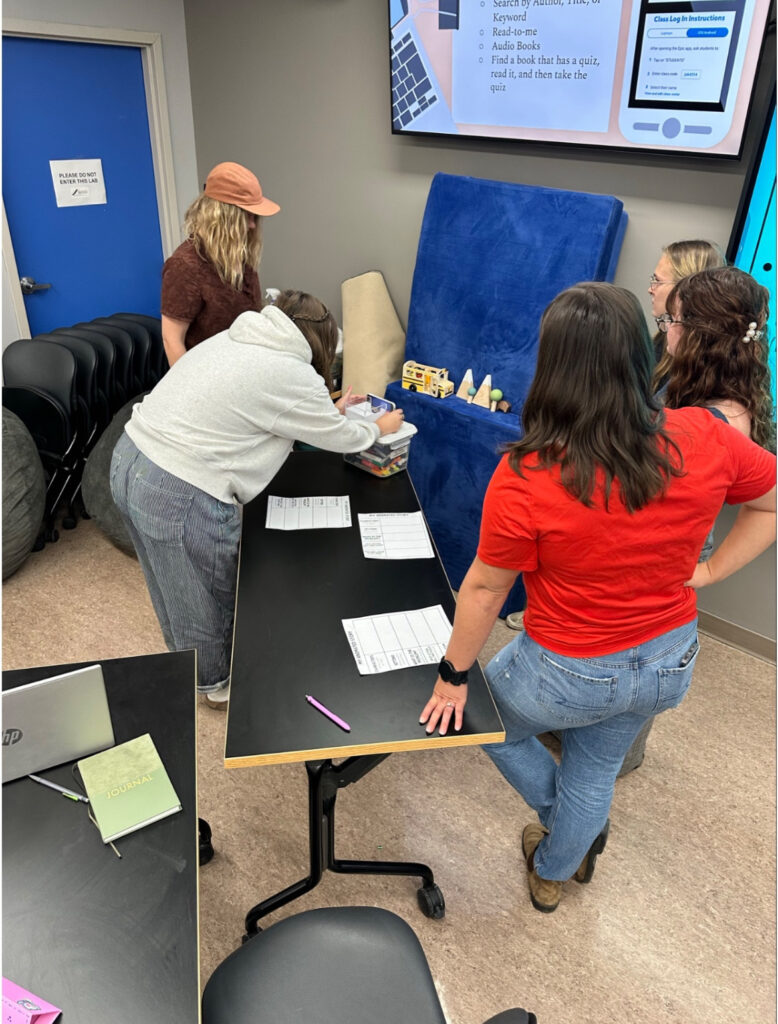
- The group all helped assemble a scene for our video
- We decided our storyline should have a class going on a field trip, leaving the bus, but the kids see a bear and have to run back onto the bus.
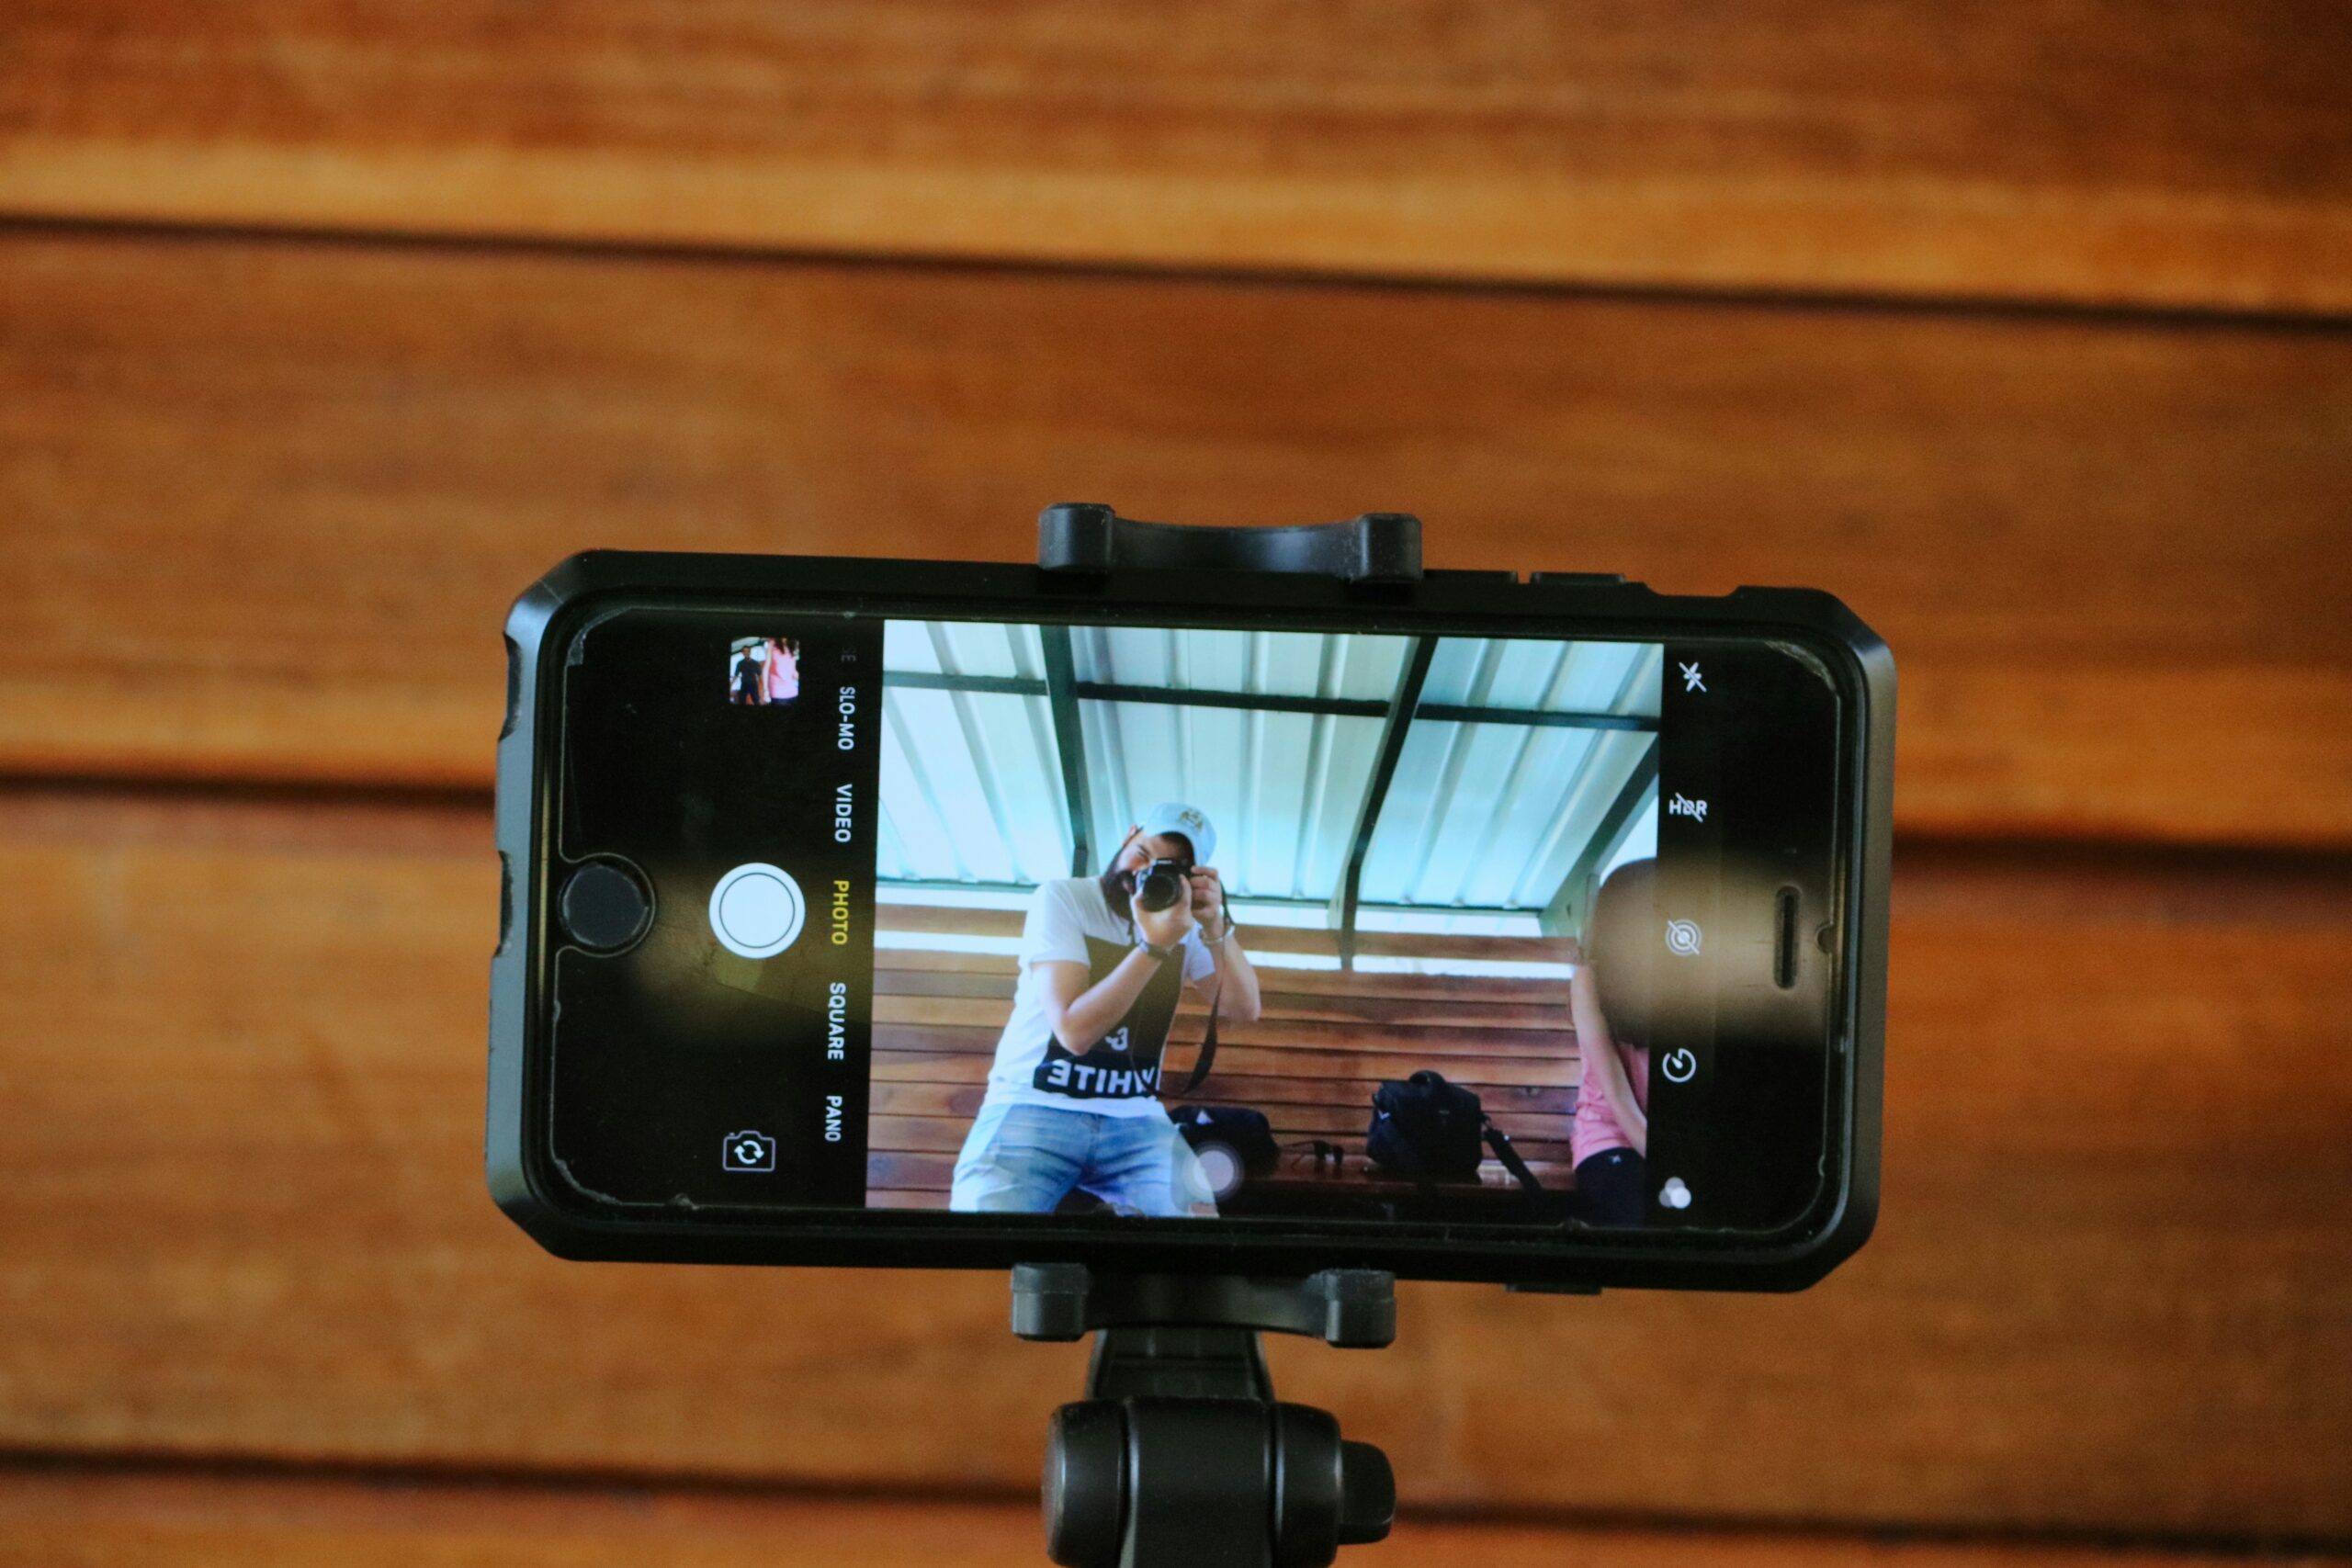
- One group member volunteered to be the camera girl and carefully took photos while the other group members assisted in moving around the props and characters.
- After taking photos and making minor adjustments to our scene for quite some time, we were finally able to watch our Stop-motion video.
- We ended up experimenting with the features of the app, which allowed us to change the video speed.
Two weeks after we did this on our own, on October 7th, we got to teach third graders how to use stop-motion. This experience was enlightening, and it felt great to watch the kids let out their creativity, create cool scenes, and work together to make their videos. The entire third-grade class was so inspired, and every child was giving their ideas to help make their video better. By the end of the class, each video turned out completely different, with different props, characters, and ideas. I was extremely proud of the group I worked with, as they were able to navigate multiple challenges, such as each child getting the same amount of screentime and taking turns with the props.
What I enjoyed about this
This is such a fun, collaborative activity you can do in school and in your free time. You can experiment with making your own movies, essentially, which encourages creative freedom. The app was quite easy to navigate and is perfect for beginners. You can make stop motion with so many different props and characters, too. One of the groups in my class in September drew a picture and added little bits to it every frame, and I saw another group using their school supplies; the possibilities with this are endless! When we worked with the third graders to make videos, they came up with some of the greatest ideas, such as tying a prop to a string to make a prop look like it is flying! This also taught me a lot about teaching and working with younger kids, which will help guide me in my teaching career.
What I will do differently next time
There isn’t a lot I would change about this project or our video. I have to admit, however, I was quite jealous that all the other groups figured out how to put music in the background of their video. At first, before we understood the features of the Stop-Motion studio, we struggled to add sounds, but with the third graders, my group figured it out. Obviously, our videos weren’t going to turn out perfect because we aren’t professionals, but we will improve over time.
My Thoughts
I would love to use this app in my future classroom. Stop-motion could be used for a variety of different subjects and ideas in science, history, and even math. Students enjoy seeing their props come alive, and the process sparks excitement, creativity, and laughter, making learning more memorable and enjoyable for everyone involved.
To end this week’s reflection, I wanted to showcase a video that I found really interesting about stop-motion and some of the movies that were made with stop-motion.
Sorry, but comments are not enabled on this site.